Whirlpool Washer Disassembly Guide
In this Whirlpool washer disassembly guide I will walk you through the steps in
disassembling Whirlpool washers. One of the most intimidating things about any
do-it-yourself repair job is disassembly. So with the help of this page along
with the repair guide, you can repair your Whirlpool washer yourself.
1. Disconnect power from washer.
|
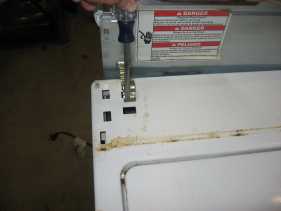
2. Remove the two screws (one on each
side) that hold the control panel on. On some washers, you will see the screws
from the front, some you will have to snap a cover off to see the screws and on
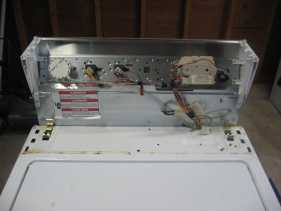
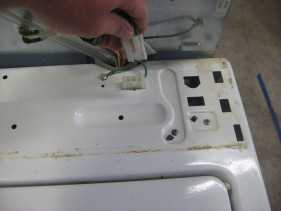
some washers the screws will be on the back. 4. Once the control panel is hinged up, you should see two clips,
remove them. 5. In the center you should see a plug going into the case of the
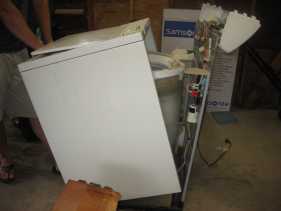
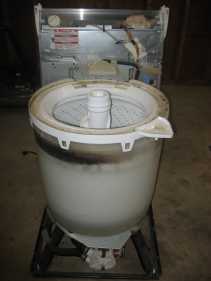
washer, unplug it. 6. Once done you should be able to pull the case of the washer
(front, sides and top) over and off the base leaving nothing but the back and
tub. Buy appliance parts online and save.
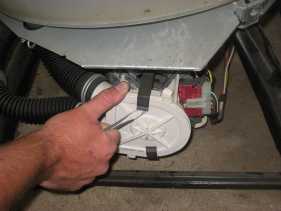
7. Remove water pump by removing the two clips. Note that if you are
replacing the pump remove the hoses and install new pump but if you are trying
to access the motor or the motor coupling there is no need to remove the pump
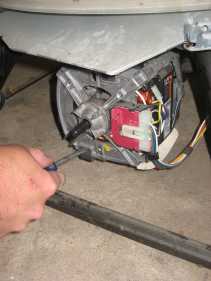
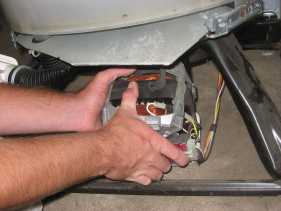
hoses. Just move the pump over to the side and out of the way. 8. Remove the motor by removing the two clips (on most of these
washers the clips are secured with screws). Once the clips are removed the motor
should fall down. Once off you can remove the motor coupling from the
transmission and the motor to replace it.
|
        |
Removing the gear-case and
clutch
Above are Whirlpool washer disassembly
instructions for disassembly down to the motor, which is all you need to know
for most Whirlpool washer repair however sometimes you have to replace the
gear-case or the clutch. To do so first remove the motor and pump as shown
above, then follow these additional steps.
1. Remove the agitator by
removing the cap off the top then removing the bolt, down in the agitator.
2. Lay the washer down on its back. Note you may have to disconnect the
hose in order to do so.
3. Remove the three bolts that hold the
gear-case on.
4. Pull the entire gear-case and agitator shaft
out.
5. Remove the trust bearing off the agitator shaft.
6. The
clutch is held on by a clip remove it and the clutch should come right off.
Whirlpool Washer Coupling Replacement
Whirlpool Washer Clutch Replacement
Whirlpool Washer Pump Replacement
Whirlpool Washer Lid Switch Replacement
Whirlpool Washer Agitator Dogs Replacement